
Want to start programming? Has virtually every single website out there told you to start with Python? Are you confused about where to start? Well, you’re in the right place! This guide will assume that you know nothing about programming.
Without further ado, let’s get right into Python development on MacOS.
Step 1: Install Homebrew
I know. It’s kind of weird. Why do we need to install something to run code? Isn’t code the thing that makes computers work in the first place? Well yes, but unless you’re writing in a low-level programming language or a language that already has a compiler installed on your OS, then you’re going to need to install a compiler. This is the case with Python on MacOS, unfortunately.
Unless you want to be trapped with a terrible looking IDE, installing Python with Homebrew is definitely the way to go.
So, let’s get started by opening up Terminal. You should be able to find this application in your Launchpad or by using Spotlight Search. It should look something like this: (If it’s different, it’s probably because you haven’t installed Oh My ZSH – go here to learn more.)
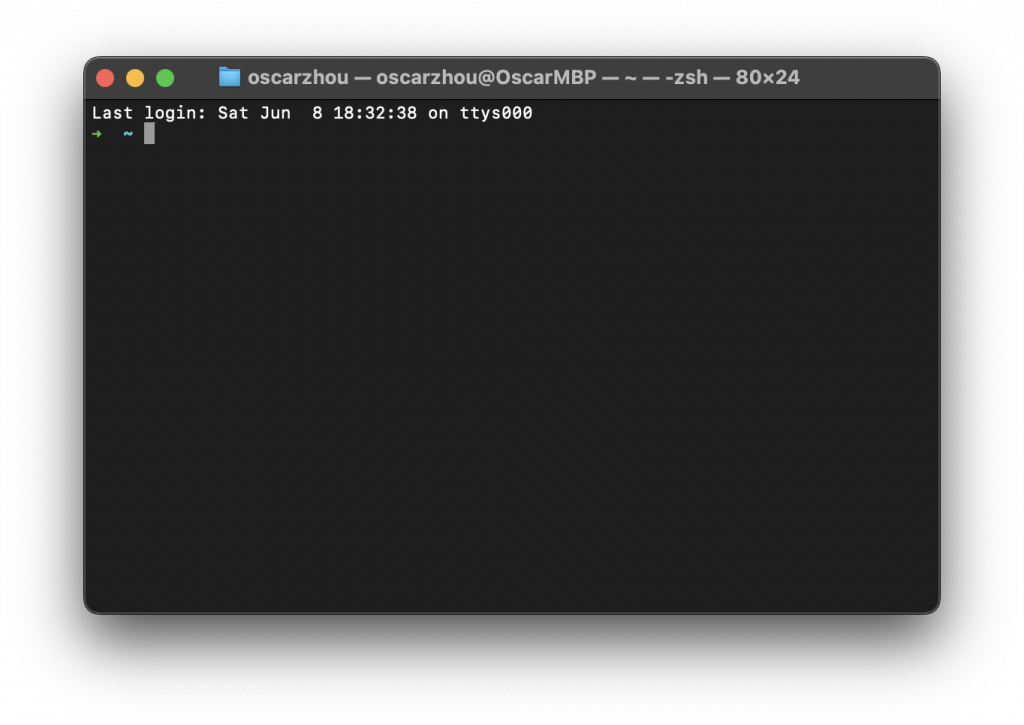
So. Now there’s a grey bar blinking at your face. What do we do with it? Well, let’s copy and paste this text in and see what happens!
/bin/bash -c "$(curl -fsSL https://raw.githubusercontent.com/Homebrew/install/HEAD/install.sh)"When you hit return, it should look like this:

Essentially, it’s trying to install a new application onto your computer. Just like you would install Chrome or MineCraft. So, enter the password to your computer into the terminal. You don’t need to click anywhere, just type your password in. Even though it will look like nothing is happening, just trust the process and type it in. After you finish typing your password, hit enter/return. It should then prompt you with this:
Press RETURN/ENTER to continue or any other key to abort:Do as it says. If you wish to continue – I hope you do – press the return key again. Now, sit back and relax.
Oooh! It looks like it’s done! But wait. It’s not!!! In the output, there should be some text that says ”- Run these two commands in your terminal to add Homebrew to your PATH:”
Let’s do exactly that! As everyone’s computer is slightly different, I won’t provide the exact code that you should copy and paste in. But essentially, just copy and paste the lines from ” – Run these two commands…” to ” – Run brew help to get started”. You can paste all of the lines in at once. After this is complete, you should be ready to go! Let’s test it out. Type in and run:
brew helpThis should output:
Example usage:
  brew search TEXT|/REGEX/
  brew info [FORMULA|CASK...]
  brew install FORMULA|CASK...
  brew update
  brew upgrade [FORMULA|CASK...]
  brew uninstall FORMULA|CASK...
  brew list [FORMULA|CASK...]

Troubleshooting:
  brew config
  brew doctor
  brew install --verbose --debug FORMULA|CASK

Contributing:
  brew create URL [--no-fetch]
  brew edit [FORMULA|CASK...]

Further help:
  brew commands
  brew help [COMMAND]
  man brew
  https://docs.brew.sh
If it ends up outputing:
bash: brew: command not foundTry running the lines from ” – Run these two commands…” to ” – Run brew help to get started” again.
If you want to continue exploring Homebrew, please consider checking out this extremely fun post that I loved writing.
Step 2: Install Python with Homebrew
Don’t worry. All of the hard work has already been done. This bit’s easy. Simply run:
brew install pythonAnd we’re done!
Well, let’s test if Python’s actually working by running:
python --helpThis should output:
usage: /opt/homebrew/Cellar/python@3.12/3.12.3/Frameworks/Python.framework/Versions/3.12/Resources/Python.app/Contents/MacOS/Python [option] ... [-c cmd | -m mod | file | -] [arg] ...
Options (and corresponding environment variables):
-b     : issue warnings about converting bytes/bytearray to str and comparing
         bytes/bytearray with str or bytes with int. (-bb: issue errors)
-B     : don't write .pyc files on import; also PYTHONDONTWRITEBYTECODE=x
-c cmd : program passed in as string (terminates option list)
-d     : turn on parser debugging output (for experts only, only works on
         debug builds); also PYTHONDEBUG=x
-E     : ignore PYTHON* environment variables (such as PYTHONPATH)
-h     : print this help message and exit (also -? or --help)
-i     : inspect interactively after running script; forces a prompt even
         if stdin does not appear to be a terminal; also PYTHONINSPECT=x
-I     : isolate Python from the user's environment (implies -E and -s)
-m mod : run library module as a script (terminates option list)
-O     : remove assert and __debug__-dependent statements; add .opt-1 before
         .pyc extension; also PYTHONOPTIMIZE=x
-OO    : do -O changes and also discard docstrings; add .opt-2 before
         .pyc extension
-P     : don't prepend a potentially unsafe path to sys.path; also
         PYTHONSAFEPATH
-q     : don't print version and copyright messages on interactive startup
-s     : don't add user site directory to sys.path; also PYTHONNOUSERSITE=x
-S     : don't imply 'import site' on initialization
-u     : force the stdout and stderr streams to be unbuffered;
         this option has no effect on stdin; also PYTHONUNBUFFERED=x
-v     : verbose (trace import statements); also PYTHONVERBOSE=x
         can be supplied multiple times to increase verbosity
-V     : print the Python version number and exit (also --version)
         when given twice, print more information about the build
-W arg : warning control; arg is action:message:category:module:lineno
         also PYTHONWARNINGS=arg
-x     : skip first line of source, allowing use of non-Unix forms of #!cmd
-X opt : set implementation-specific option
--check-hash-based-pycs always|default|never:
         control how Python invalidates hash-based .pyc files
--help-env: print help about Python environment variables and exit
--help-xoptions: print help about implementation-specific -X options and exit
--help-all: print complete help information and exit

Arguments:
file   : program read from script file
-      : program read from stdin (default; interactive mode if a tty)
arg ...: arguments passed to program in sys.argv[1:]
If not, try Step 2 again – or comment whatever you get instead of that lot of text.
So, we have Python installed on our computer. What the heck do we do with it? Follow this post to find out more! Good luck!
Oscar 🙂

Python doesn’t need a compiler. It’s a fricking interpreted language buddy. Stop it. Get some help.
Oh. I completely forgot. I’ll change that now.