

Homebrew is what we (nerds/developers/cool people) call a package manager. Package managers are essentially App Stores – and in the programming world, there are hundreds. (APT, Pacman, Homebrew…)
Homebrew is argulably the best option for MacOS. It includes all of the most essential tools (and a bunch of fun ones too!) and enables you to install them with one single command.
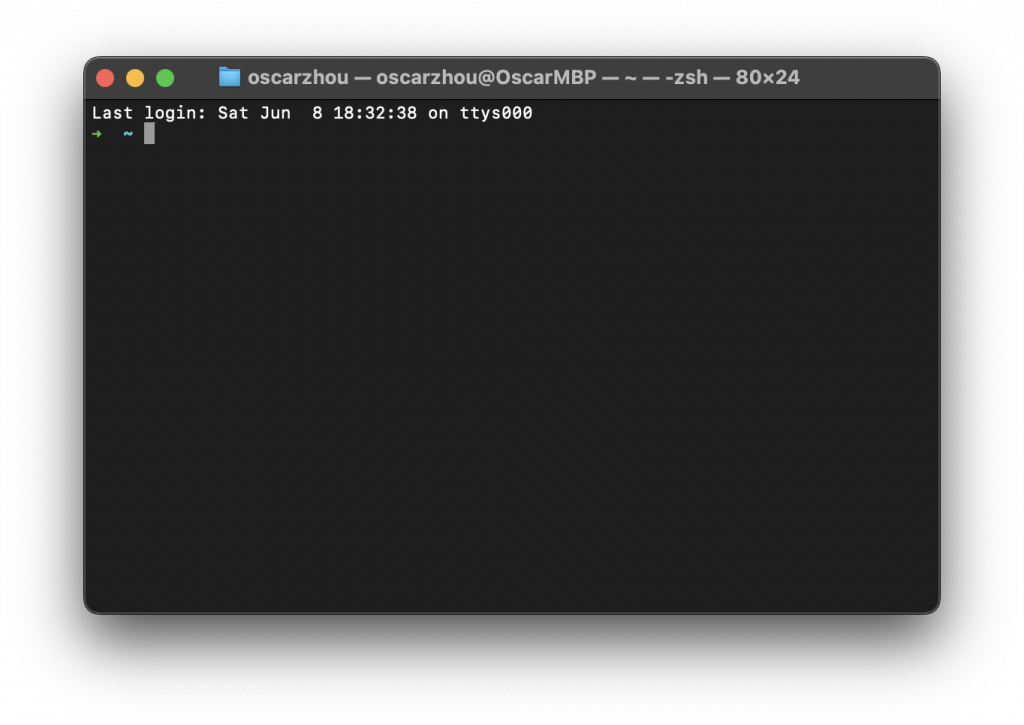
So, let’s get started by opening up Terminal. You should be able to find this application in your Launchpad or by using Spotlight Search. It should look something like this: (If it’s different, it’s probably because you haven’t installed Oh My ZSH – go here to learn more.)
So. Now there’s a grey bar blinking at your face. What do we do with it? Well, let’s copy and paste this text in and see what happens!
/bin/bash -c "$(curl -fsSL https://raw.githubusercontent.com/Homebrew/install/HEAD/install.sh)"When you hit return, it should look like this:

Essentially, it’s trying to install a new application onto your computer. Just like you would install Chrome or MineCraft. So, enter the password to your computer into the terminal. You don’t need to click anywhere, just type your password in. Even though it will look like nothing is happening, just trust the process and type it in. After you finish typing your password, hit enter/return. It should then prompt you with this:
Press RETURN/ENTER to continue or any other key to abort:Do as it says. If you wish to continue – I hope you do – press the return key again. Now, sit back and relax.
Oooh! It looks like it’s done! But wait. It’s not!!! In the output, there should be some text that says ”- Run these two commands in your terminal to add Homebrew to your PATH:”
Let’s do exactly that! As everyone’s computer is slightly different, I won’t provide the exact code that you should copy and paste in. But essentially, just copy and paste the lines from ” – Run these two commands…” to ” – Run brew help to get started”. You can paste all of the lines in at once. After this is complete, you should be ready to go! Let’s test it out. Type in and run:
brew helpThis should output:
Example usage:
  brew search TEXT|/REGEX/
  brew info [FORMULA|CASK...]
  brew install FORMULA|CASK...
  brew update
  brew upgrade [FORMULA|CASK...]
  brew uninstall FORMULA|CASK...
  brew list [FORMULA|CASK...]

Troubleshooting:
  brew config
  brew doctor
  brew install --verbose --debug FORMULA|CASK

Contributing:
  brew create URL [--no-fetch]
  brew edit [FORMULA|CASK...]

Further help:
  brew commands
  brew help [COMMAND]
  man brew
  https://docs.brew.sh
If it ends up outputing:
bash: brew: command not foundTry running the lines from ” – Run these two commands…” to ” – Run brew help to get started” again.
If you want to continue exploring Homebrew, please consider checking out this extremely fun post that I loved writing. If you want to see all of the packages on offer, feel free to use the search bar on this site.
Good luck! If you have any questions, please leave a comment or email me (my contact’s on the Home page).
Kind regards,
Oscar
